Hire the Top 3% of No-code and Low-code Developers
Leading companies and innovative startups hire expertly vetted no-code and low-code developers from Toptal for their mission-critical projects.
No-Risk Trial, Pay Only If Satisfied.


Trusted by leading brands and startups
Our customers say
How to Hire No-code and Low-code Developers Through Toptal
Talk to One of Our Industry Experts
Work With Hand-selected Talent
The Right Fit, Guaranteed
Hire No-code and Low-code Developers With Specific Skills
- Adalo Experts
- AirDev Canvas Experts
- Airtable Developers
- Appgyver Experts
- Appian Developers
- AppSheet Developers
- Backendless Developers
- Bubble Developers
- FlutterFlow Developers
- Glide Experts
- Low-code Developers
- Make Experts
- Mendix Developers
- N8n Experts
- OutSystems Developers
- PowerApps Developers
- QuickBase Developers
- Retool Developers
- Squarespace Developers
- Stacker Developers
- Thunkable Experts
- Voiceflow Experts
- Webflow Developers
- Wix Developers
- Xano Developers
- Zapier Developers
Customize Your Team
Sometimes you need talent with a mix of skills to fit your project needs. We can help.
Meet No-code Developers From Toptal

Golam Rabbani

Catalin Oancea

Siyavushkhon Kholmatov

Webflow Developer
Golam, a senior developer with seven years of experience in React, TypeScript, and Webflow, excels in building and architecting front-end solutions for startups and enterprises. A team leader and mentor, he's now focused on integrating GPT/ChatGPT technology, leveraging his co-founder experience for deeper ecosystem insights.
Previously at

Sign up now to see more profiles.


Ready to get started?
FAQs
How are Toptal’s no-code developers different?
At Toptal, we thoroughly screen our no-code developers to ensure we only match you with talent of the highest caliber. Of the more than 100,000 people who apply to join the Toptal network each year, fewer than 3% make the cut. You’ll work with engineering experts (never generalized recruiters or HR reps) to understand your goals, technical needs, and team dynamics. The end result: expertly vetted talent from our network, custom-matched to fit your business needs.
Can I hire no-code developers in less than 48 hours through Toptal?
Depending on availability and how fast you can progress, you could start working with a developer within 48 hours of signing up.
What is the no-risk trial period for Toptal developers?
We make sure that each engagement between you and your developer begins with a trial period of up to two weeks. This means that you have time to confirm the engagement will be successful. If you’re completely satisfied with the results, we’ll bill you for the time and continue the engagement for as long as you’d like. If you’re not completely satisfied, you won’t be billed. From there, we can either part ways, or we can provide you with another expert who may be a better fit and with whom we will begin a second, no-risk trial.
Explore Insights From the No-code Field

Webflow Advantages for No-code Web Design: A Case Study
A new generation of no-code web design tools promises to free designers from the tedium of traditional web development. We explore how to use Webflow to design and launch a startup company website.


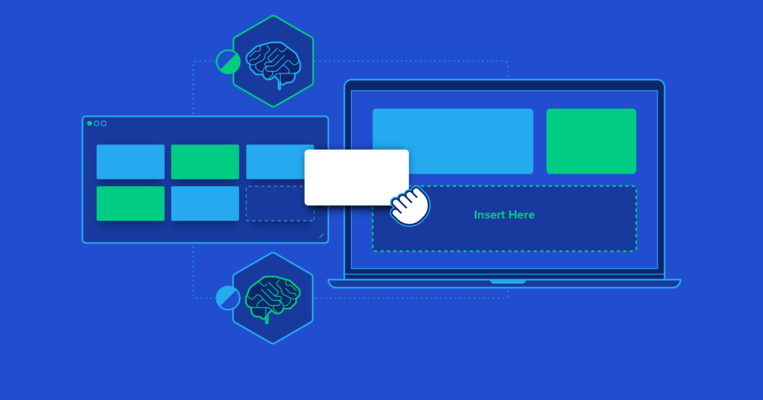
How to Bring Your Startup to Life With a No-code MVP
For startups, no-code development tools mean faster and more flexible hypothesis testing at a reduced cost. Create your first product with this guide to the no-code approach.
Trending No-code and Low-code Articles


Top no-code and low-code developers are in high demand.